Wednesday, June 22, 2011

Spa Day - Homemade Hair Masks

Have you tried my homemade facials yet? As promised, here are a couple of recipes for your hair. These are great to do especially in the summer because your hair gets more damaged by the sun and trips to the beach, so it's definitely worth spending the extra 15 minutes to nourish your hair! Enjoy!

Banana and Avocado Hair Mask
Mix 1 medium banana, 1 egg, and 1/2 avocado in a bowl.
Add 2 tablespoons of honey, 2 tablespoons of buttermilk and 3 tablespoons of olive oil into the mixture.
Blend well. Apply to hair from roots to tips and leave for about 30 minutes.
If your hair is longer, you can double the ingredients. Do this twice a month for healthier look.


Egg & Yogurt Hair Mask
Beat 1 egg white until foamy. Add 6 tablespoons of plain yogurt. Apply to hair in small sections at a time. Leave in for 15 minutes. Rinse.
Egg & Olive Oil Hair Mask
Mix 2 eggs with 4 tablespoons of olive oil. Apply to hair, wrap head with plastic wrap, and leave for 10 minutes. Rinse well.

 
Do you have any recipes for hair care that you're willing to share?

Sunday, June 19, 2011

In the Kitchen - Gnocchi with Creamy Mushroom Sauce

I don't know about you, but one of my favorite Italian dishes is gnocchi - sort of like potato dumplings. I was craving them this weekend, so I decided to try to make them at home. I didn't realize how easy they are to make, but I do have to warn you that it's a bit time consuming. So put on your apron, pour a glass of wine, and be prepared for a delicious meal!
Ingredients:
For the gnocchi:
1.5 lbs russet potatoes, scrubbed (about 3 large potatoes)
1 cup all purpose flour (it may actually take about 2 cups)
1 large egg yolk, beaten
1 teaspoon salt
a pinch of freshly grated nutmeg
For the mushroom sauce:
1 lb sliced mushrooms
1 medium onion, chopped
1/3 cup whipping cream
1/3 cup brandy
parsley
1/4 cup butter (or less)

First, you need to bake the potatoes. Preheat oven to 400F, wash potatoes and pierce them in several places. Bake for about 1 hour or until soft. Take out of the oven and peel - russet potatoes are very easy to peel after baking, so make sure you do that while they are still hot (and don't burn your fingers). Smash the potatoes on a flat surface (a baking sheet or a big plate) and let them cool a bit.
Transfer to a large bowl and add 1 cup flour. Toss them around until coated well. Add the egg, salt and nutmeg in the center of the mixture, and stir with fork until evenly moistened. Transfer mixture onto lightly floured surface. Knead until dough comes together, and feel free to add more flour if dough is very sticky.


 And now, the fun begins! Form dough into a ball and divide into 4 pieces. Roll each piece between hands and surface into 3/4-inch-thick rope. This will feel very funny on your hands and is a lot of fun to do! Once you have the ropes, cut them into 3/4-inch pieces. Don't pile pieces on top of each other, but spread them around on the surface or on a baking sheet. You don't want them to stick together.

In the meantime, get a big pot of slightly salted water and when it starts to boil, dump the gnocchi into the water. Work in batches - you don't have to cook all of them at once, depending on the size of your pot. They will cook really fast and will start floating on the surface. Stir occasionally, and carefully transfer gnocchi to a bowl using a slotted spoon. The gnocchi are cooked!


Now, on to the creamy mushroom sauce. Melt the butter in a large pan and add the mushrooms and onions. Saute over medium to high heat until mushrooms begin to brown - about 10-12 minutes. Add the whipping cream and the brandy, boil until sauce thickens - another 5-8 minutes. Pour it over the gnocchi and mix well. And voila! My tongue was definitely doing the happy dance!

Do you have any favorite restaurant dishes that you've tried cooking at home?

Saturday, April 30, 2011

Mother's Day Sale

Are you still in need of a Mother's Day gift? Stop by my Etsy shop and enjoy 20% off with coupon code MOM20 at checkout - now through 5/8/2011. Depending on the time of your purchase, your order will be shipped either on the same day or the next day to ensure you'll get it on time :)

Sunday, April 24, 2011

Saturday, April 16, 2011

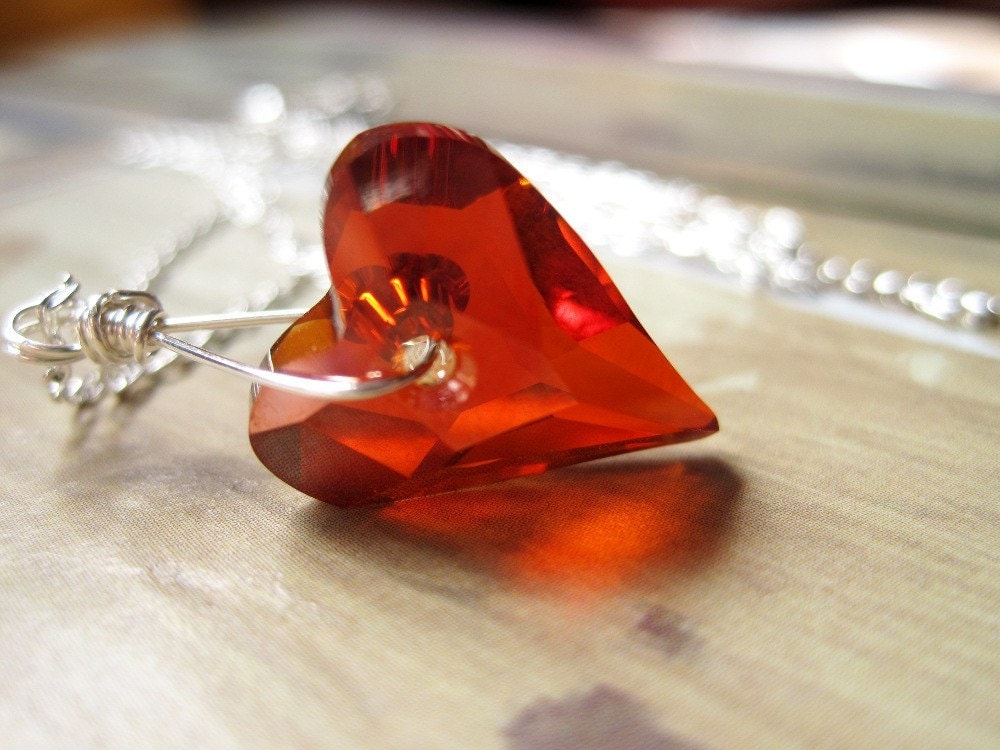
Pepi's Picks

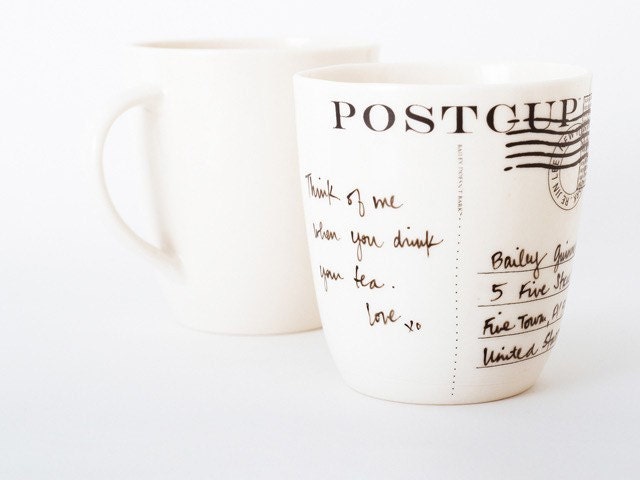
Postcup(TM) by baileydoesntbark
Natural Wood Earrings by OrganicArchitecture
Cafe Mocha Shea Butter and Olive Oil Soap by SymbolicImports
Vintage Dress Watercolor Note Cards by jojolarue
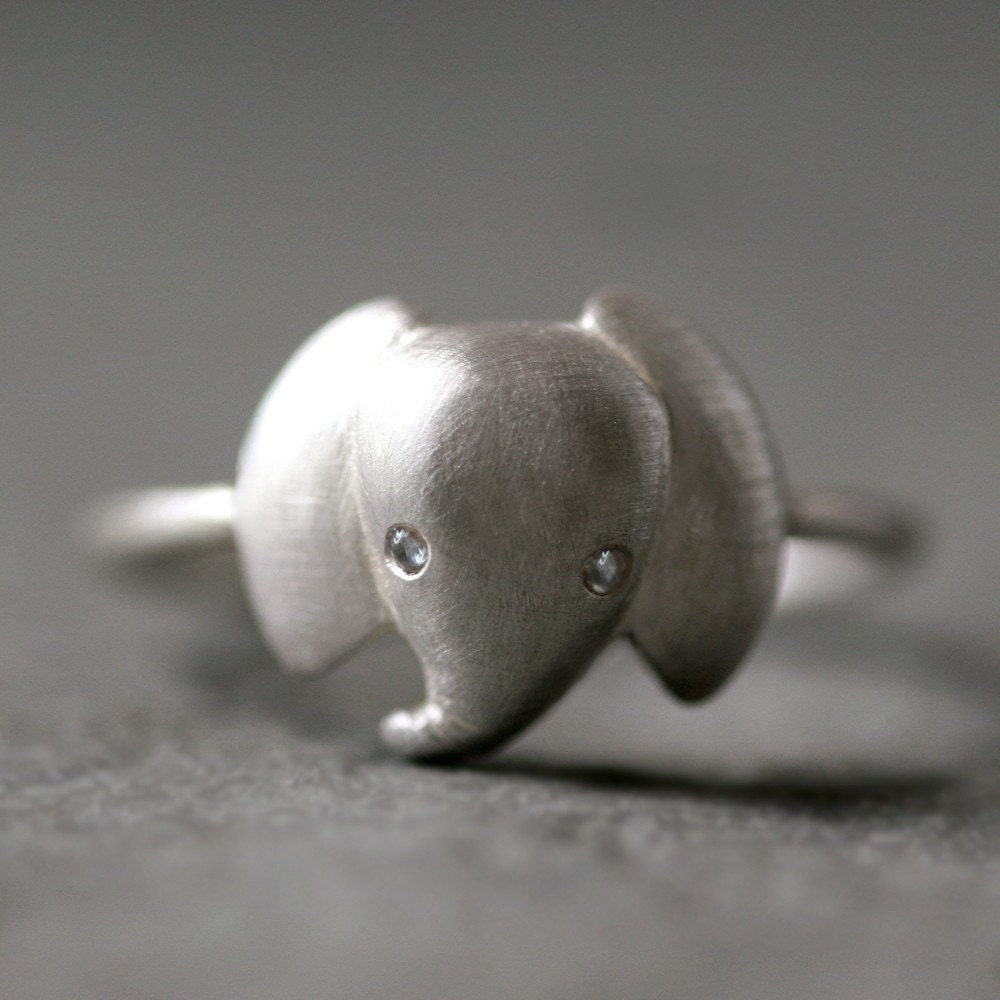
Baby Elephant Ring by michellechangjewelry

How to Receive (and Give) Feedback

It's that time of year - businesses are doing their annual self-evaluations and reviews, and everyone is nervous about getting feedback on their performance. But as an Etsy seller (or any self-employed business owner), feedback doesn't come just once a year - it's a daily process. Whether you're asking for critiques in the forums, or you're receiving feedback from your customers on the products they purchased, or you're being asked to give your opinion on something, you're constantly exposed to feedback. As we all know, feedback can be both positive and negative, but it's always the negative criticism that makes us cringe and become defensive. Ironically, it's also the type of criticism that helps us learn from our mistakes the most and become better at what we do and who we are. Knowing how to give and receive feedback is a precious skill that few of us have, but it's something definitely worth learning how to do.

I recently spoke to Melinda who just started a blog where she showcases successful Etsy shops. She received requests from many sellers, and given her strict guidelines on what she was looking for, not all shops made the cut. For the ones that she rejected, she actually spent quite some time going through them and giving them a review on certain things that they can improve. Most sellers welcomed her feedback and were grateful that she spent time doing it, but others were not as nice. As I was reading about Melinda's frustrations, it got me thinking. Why were some people so appalled? Isn't this a great way of learning how to improve your shop and make it better? Why take is so personally?

A few days later I came across an article in Psychology Today about feedback, and it all started to make sense! I learned a few interesting fact too. Apparently, there are separate circuits in our brains that handle information - one for positive and one for negative phenomena. The negative information sticks the most, and no matter how many great and positive compliments you get, you always remember that one minor critique! Due to our sensitivity to negative feedback, sometimes we "see" criticism where it doesn't exist, because we tend to overthink other people's comments or remarks. And it all comes down to one thing - fear of exclusion. Once you recognize this, you can become better at accepting and giving feedback.

So, you ask, how can you make this work? If you are giving feedback, were you asked to? Nobody welcomes unsolicited negative feedback, but if they asked you for it, they are more susceptible to receive it. Try to use questions when giving feedback as a way of walking the recipient through the problem and making them feel part of a discussion. Think about whether you are "eligible" to give feedback in their eyes. If they don't see you as a qualified authority, it will only bring more negativity. And finally, don't be angry when you provide criticism - be nice and calm. If you are on the receiving end, take a deep breath! It's not going to be easy, but try not to take it personally, and really think about what you're hearing. Learn from it! And although it's hard to hear it, ask for feedback as much as you can!

Sunday, April 10, 2011

Spa Day - Homemade Facials

I'm a huge fan of homemade spa recipes. When I was a student and couldn't afford going to a spa, I'd go through my pantry and fridge and make some homemade spa concoctions for my skin and hair. If you haven't tried this before, I totally recommend it - they'll leave you feeling great and refreshed, without spending big bucks! Here are a couple of homemade facial recipes.


Coffee and eggs facial exfoliating mask.  You can do this after you've had your morning coffee. You need 1/4 cup of the used coffee grounds and 1 egg white. Mix the two ingredients well and massage the mixture gently on your face. Let it dry. Rinse it off with cool water and gently pat your skin dry with a towel.


Honey and eggs facial for oily skin. Whisk 1 egg white, and then add 4-5 drops of lemon juice and 2 teaspoons of honey (you can also use orange or grapefruit juice). Mix well and gently apply to your face. Let it stay for about 20-30 minutes and then rinse it off with cool water and pat dry your skin.


Make sure you're laying down while waiting for the masks to dry - gravity will cause the mixture to drip down and drag your skin downwards. Besides, why not just have some YOU time and relax!

Hope you enjoy those, and stay tuned for some homemade hair masks next time!

LinkWithin

Related Posts Plugin for WordPress, Blogger...